 As many of you know Oracle is the top leader on Database Performance and Management, there are many databases on the market but believe me at my Job I work with thousands of records on Oracle, I mean thousands. I will not take away the credit on the other Databases though. On this tutorial I will guide you through the installation process on Windows 7.
I am creating a PHP library to work with different databases, right now it includes connections for MySQL and Oracle, and this is why I am making this tutorial because before you connect to Oracle you must have it on you system.
I let you know that if you have installed Oracle before then this tutorial will help you only as a reference, otherwise keep reading a follow the steps.
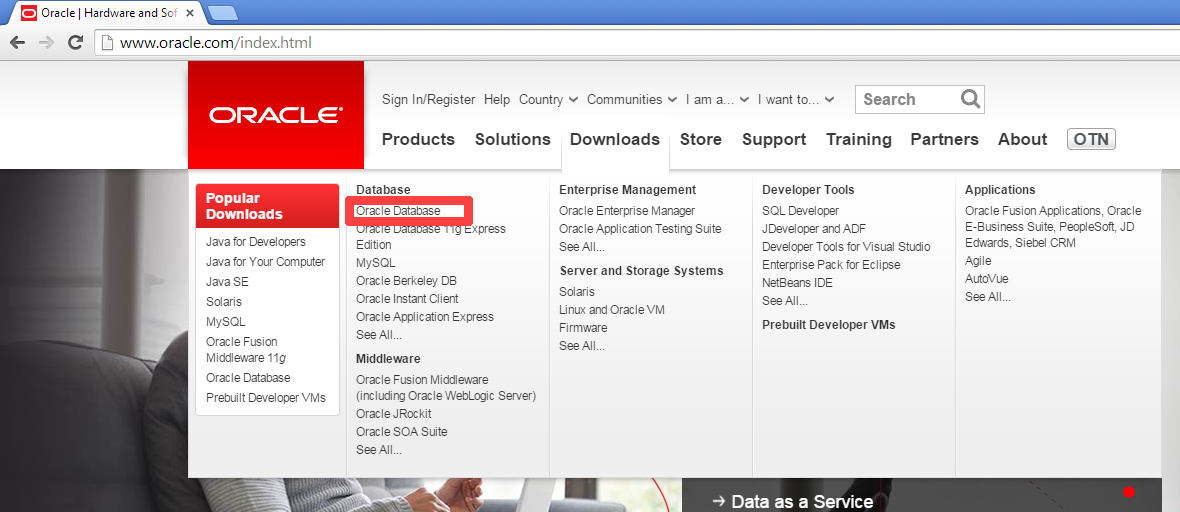
1.- DOWNLOADING ORACLE
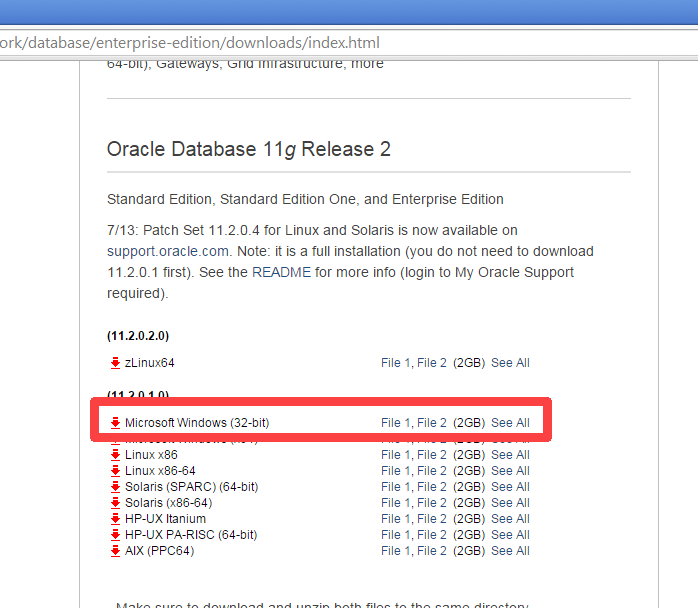
2.- Selecting the Windows Version.
Here you will select the version for your Operating System on this time we are selecting the 32 Bits version.
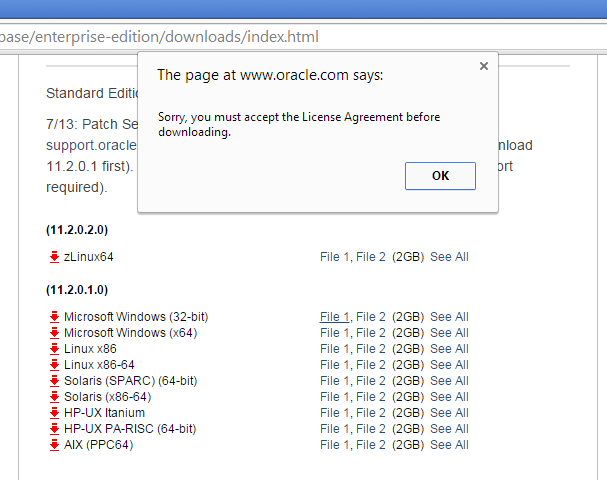
3.- Did you get an alert window when you clicked on the link?
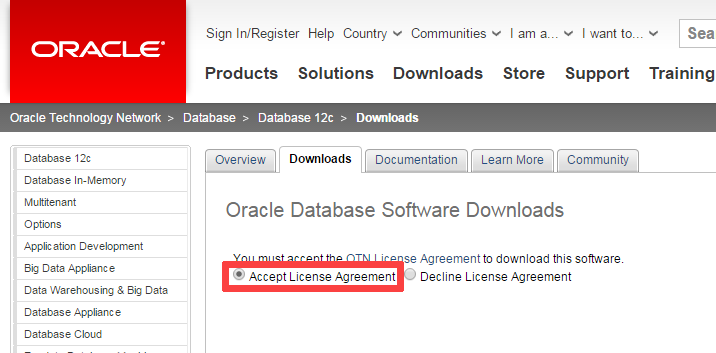
Perhaps you forgot to click the “Accept License Agreement”.
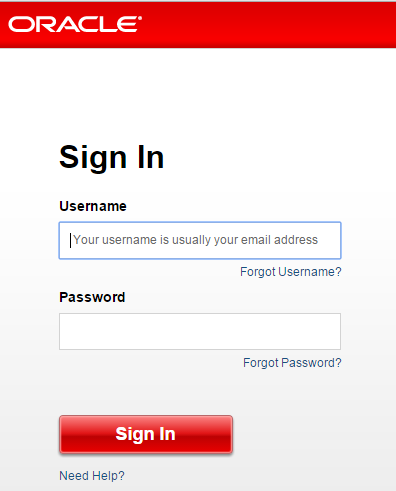
4.- Sign In.
When you click on the link you will redirected to Login window, here you have to enter you Oracle credential or create yours to be able to download the file.
5.- Save your files.
Your will be prompted for a location to save your files. You have to save both files and then put them together in order to burn them to a DVD or just execute the installer on your system. I use WinRar to archive this goal. Select both files, right click and then select extract to win32_11gR2_database2of2\.
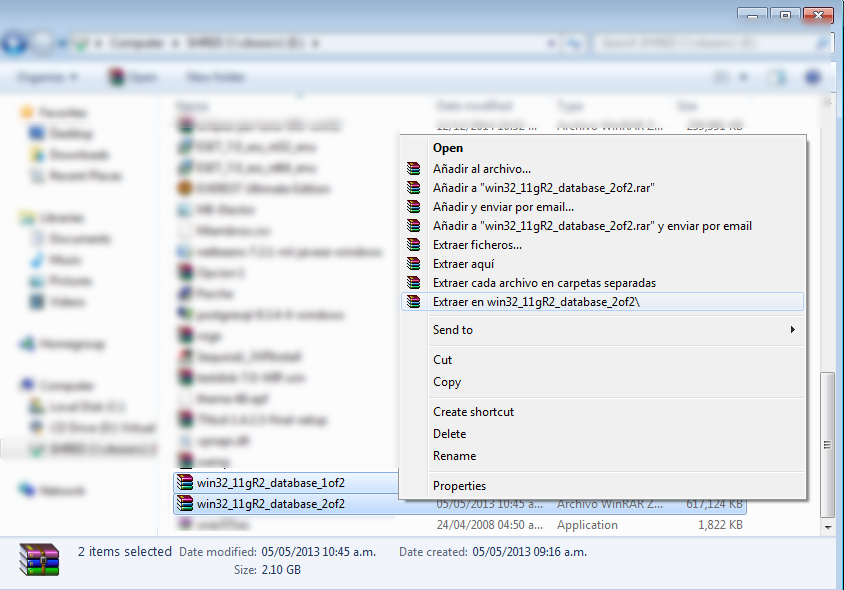
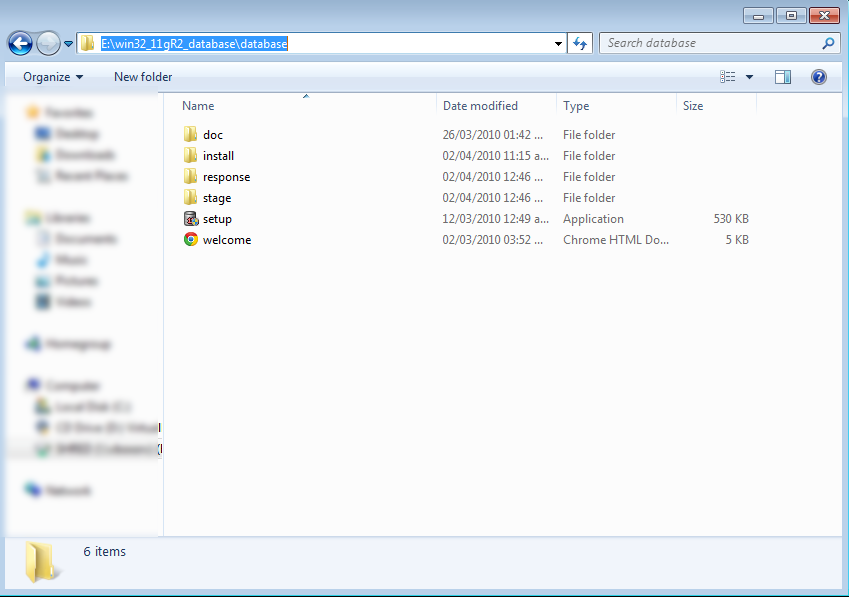
The result of this will be a folder with the installation files.
6.- Execute the installer.
7.- Inside the installation.
On the first screen of the installation you will be ask to enter your email address for further information.
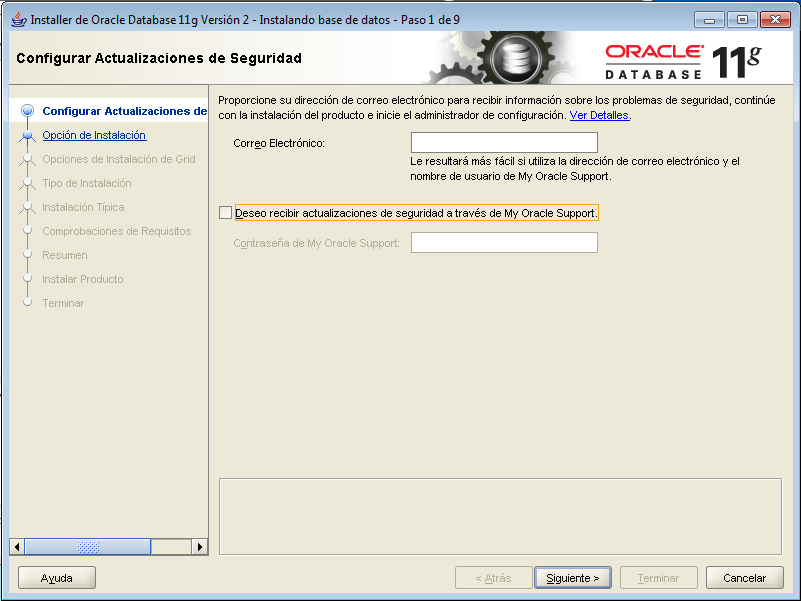
I have chosen not to include an email address, so if you choose it as well you will have the following warning.
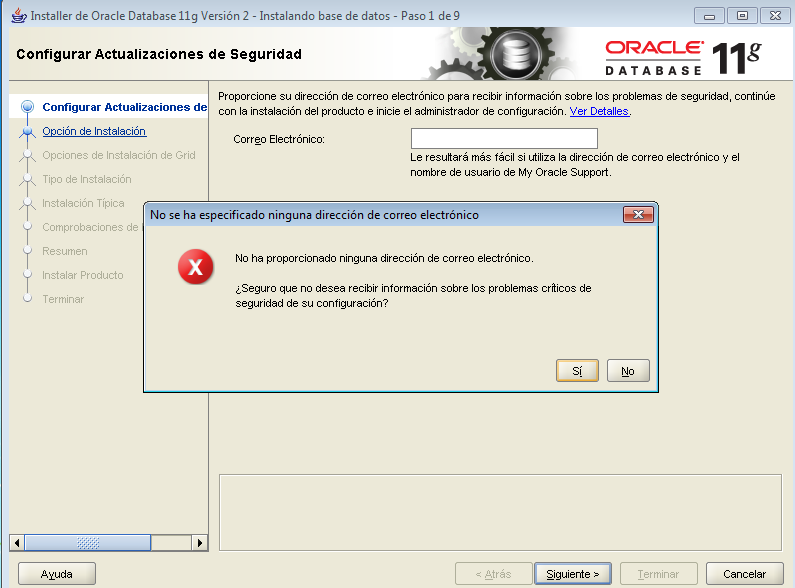
I choose Yes to continue without providing an email address.
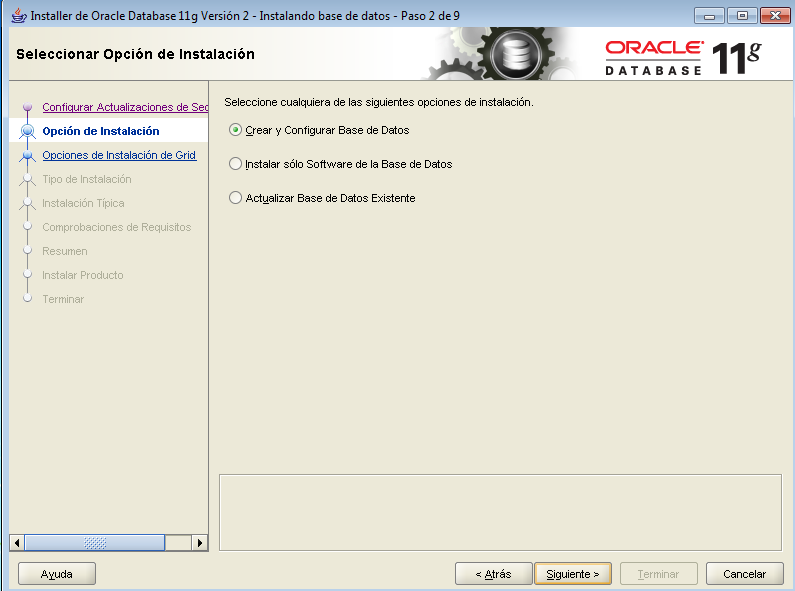
8.- Select your type of installation.
I have chosen a Create and Setup Database.
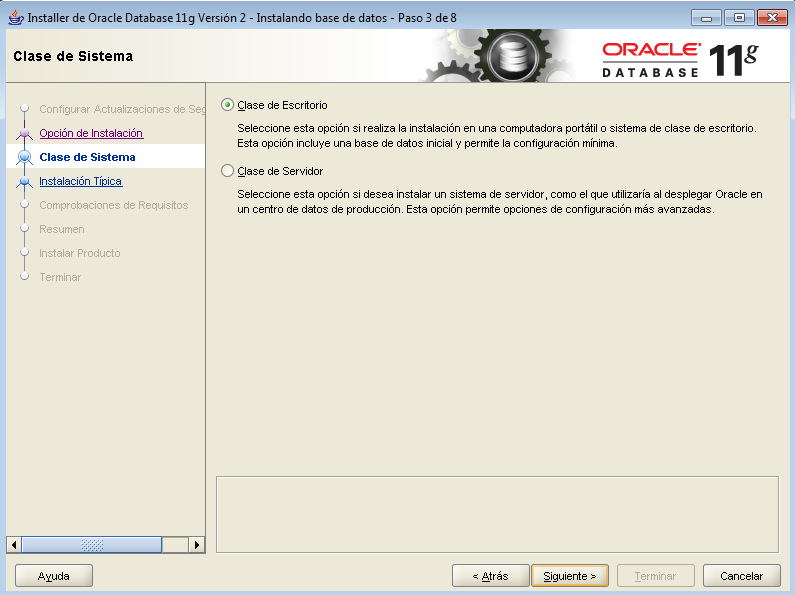
9.- Select your System Class
Select your system behavior. You can choose a Desktop class or a Server class. Select Desktop Class if you are not planning to use your computer as a dedicated server.
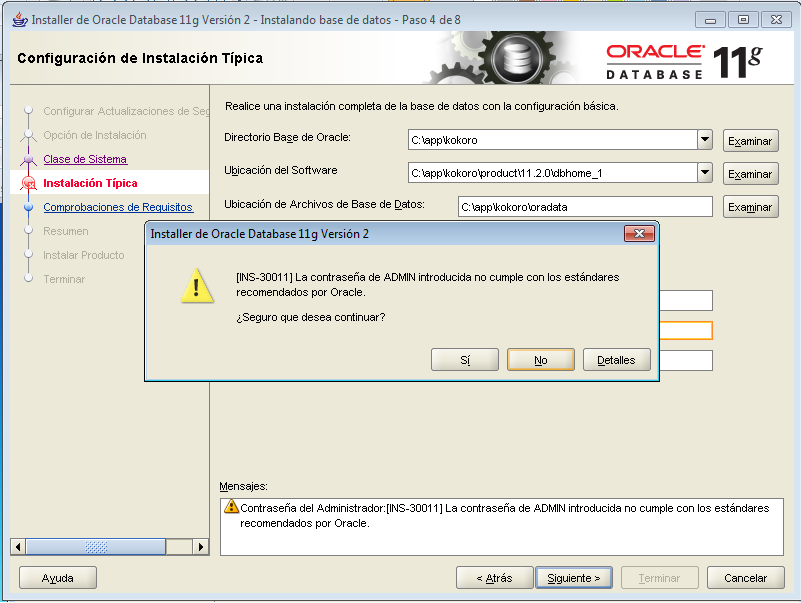
10.- Review your installation paths.
Here you can choose where your files will be added as well as your password.
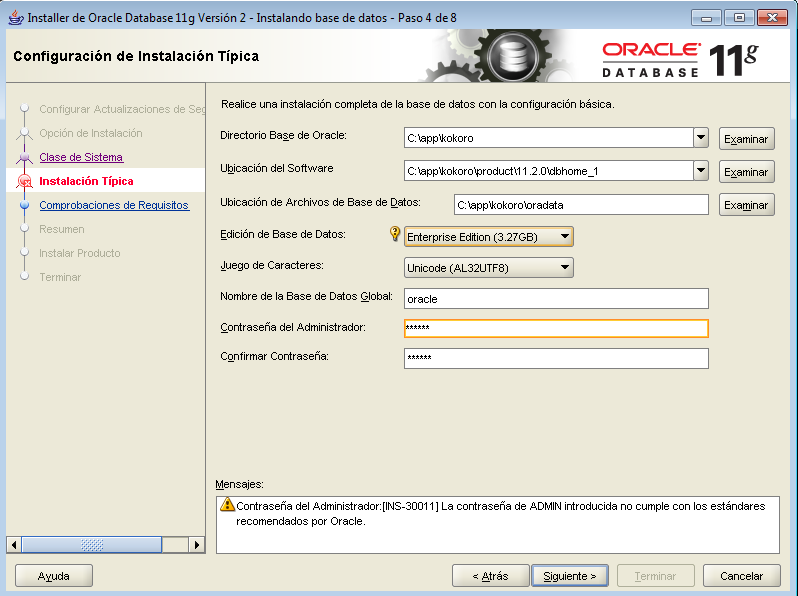
Since I am not planning to deploy this database on a public site I chose a simple password for simplicity.
11.- Review you installation settings.

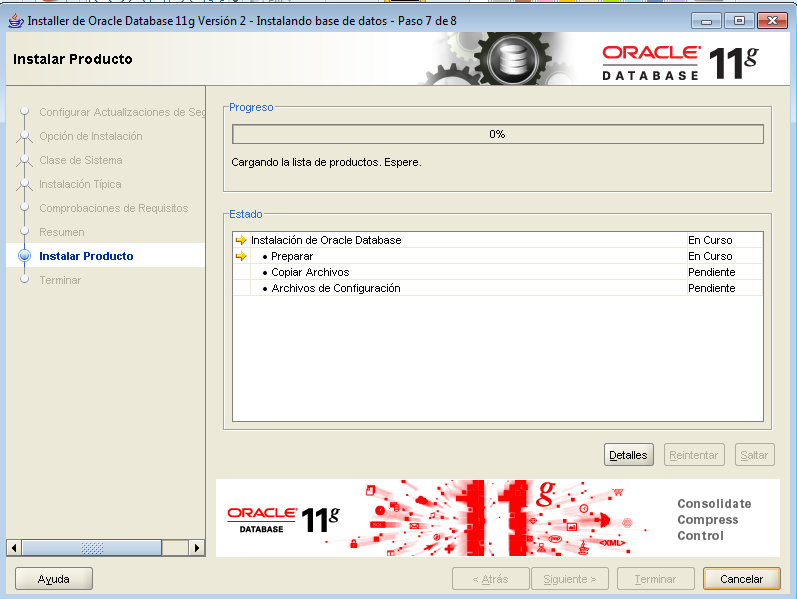
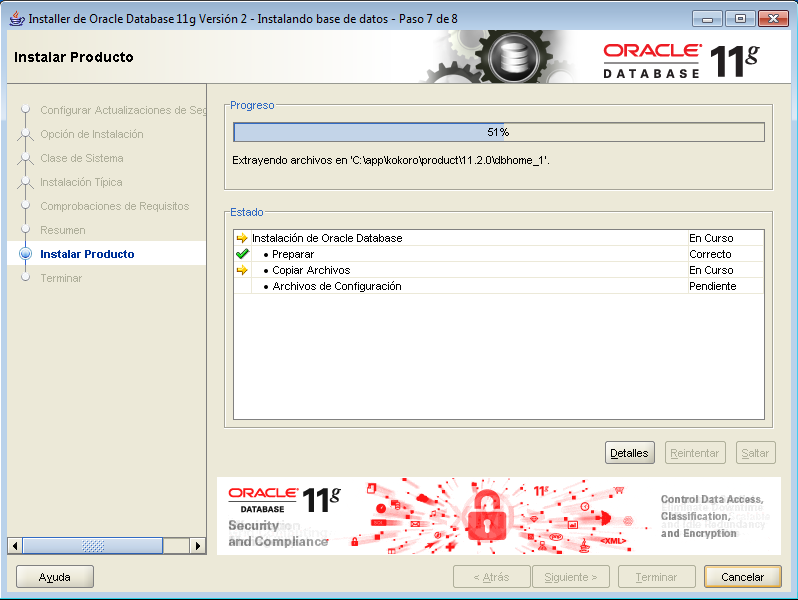
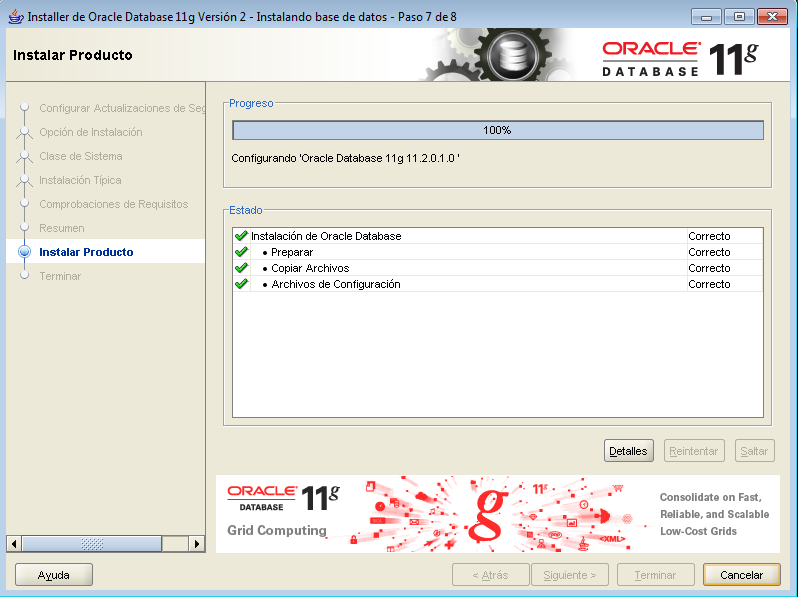
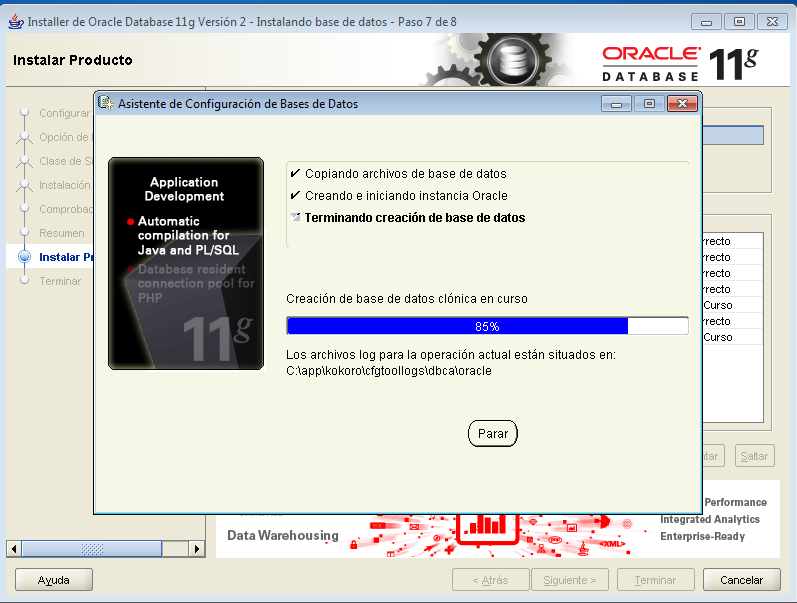
12.- Waiting for the installation to complete.
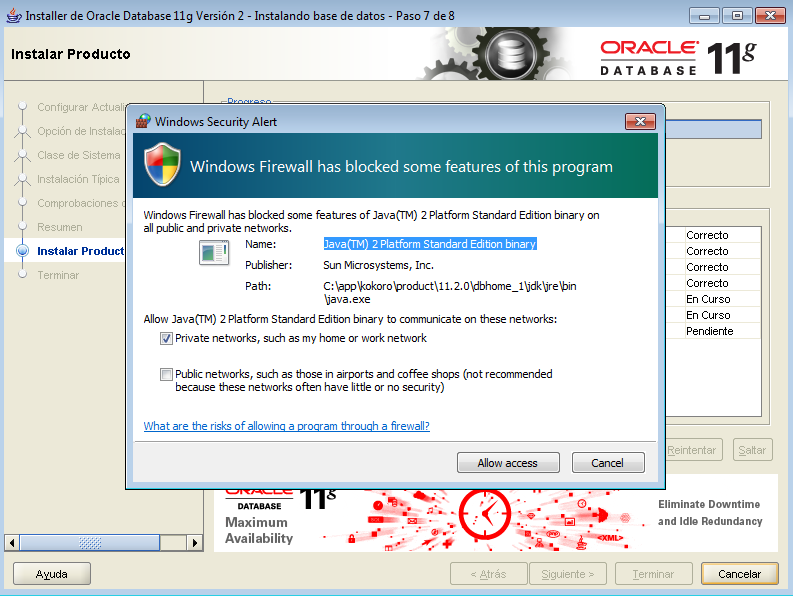
Since Oracle needs to work with your network you have to give it access on your Windows Firewall.
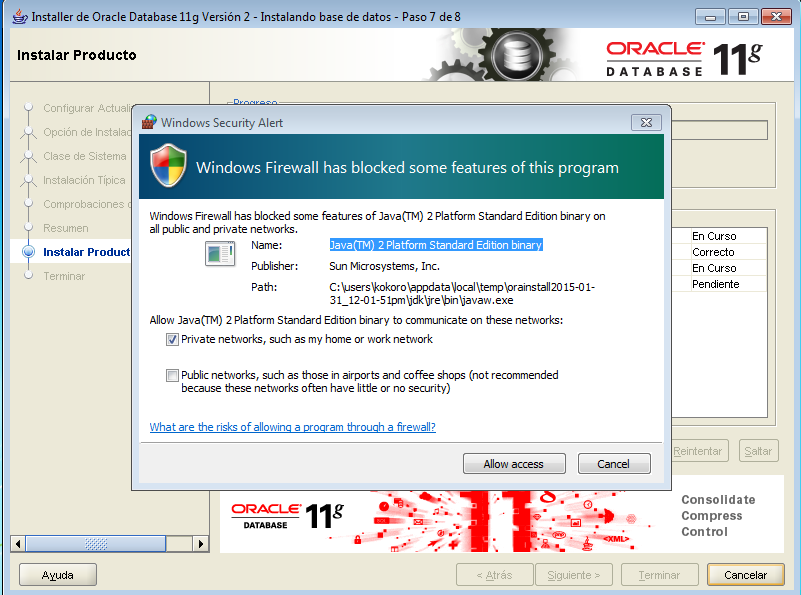
Installation completed and another Windows Firewall Access.
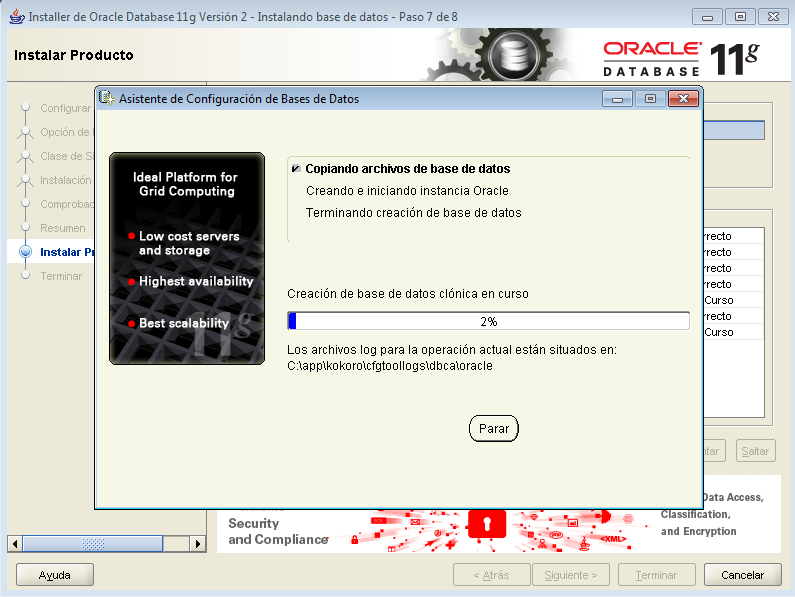
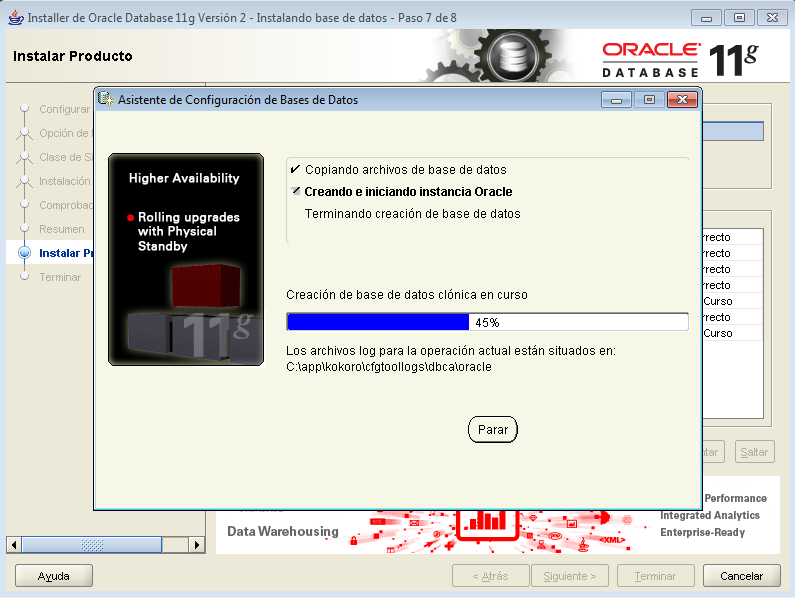
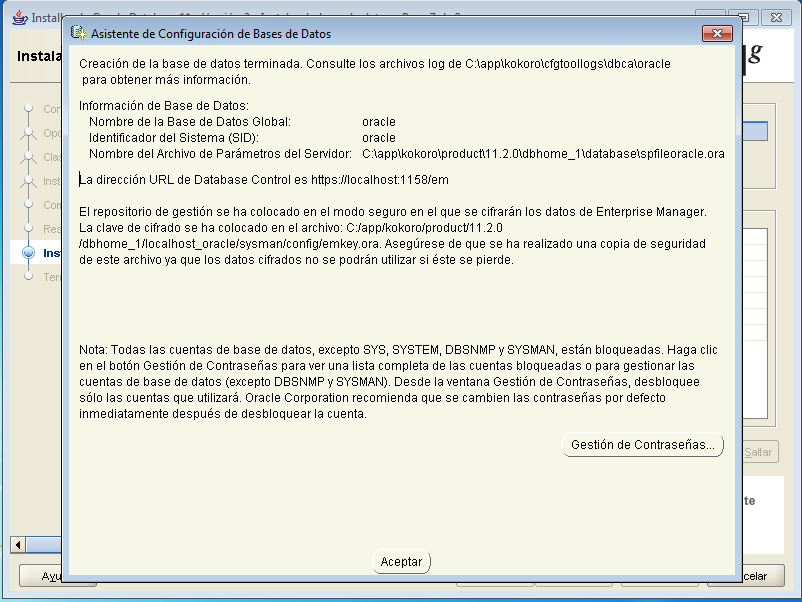
13.- Database setup.
Don’t forget to copy the information provided here. You can save the SID that can be use on other settings as well as a Web interface to manage the Database. You can also manage the other accounts.
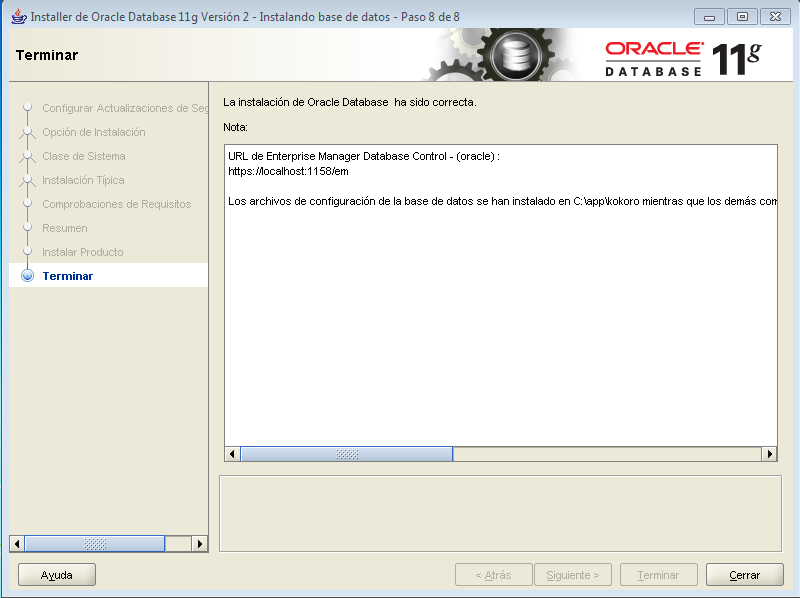
Installation is done.
14.- Check the Oracle products on Windows Start Menu.
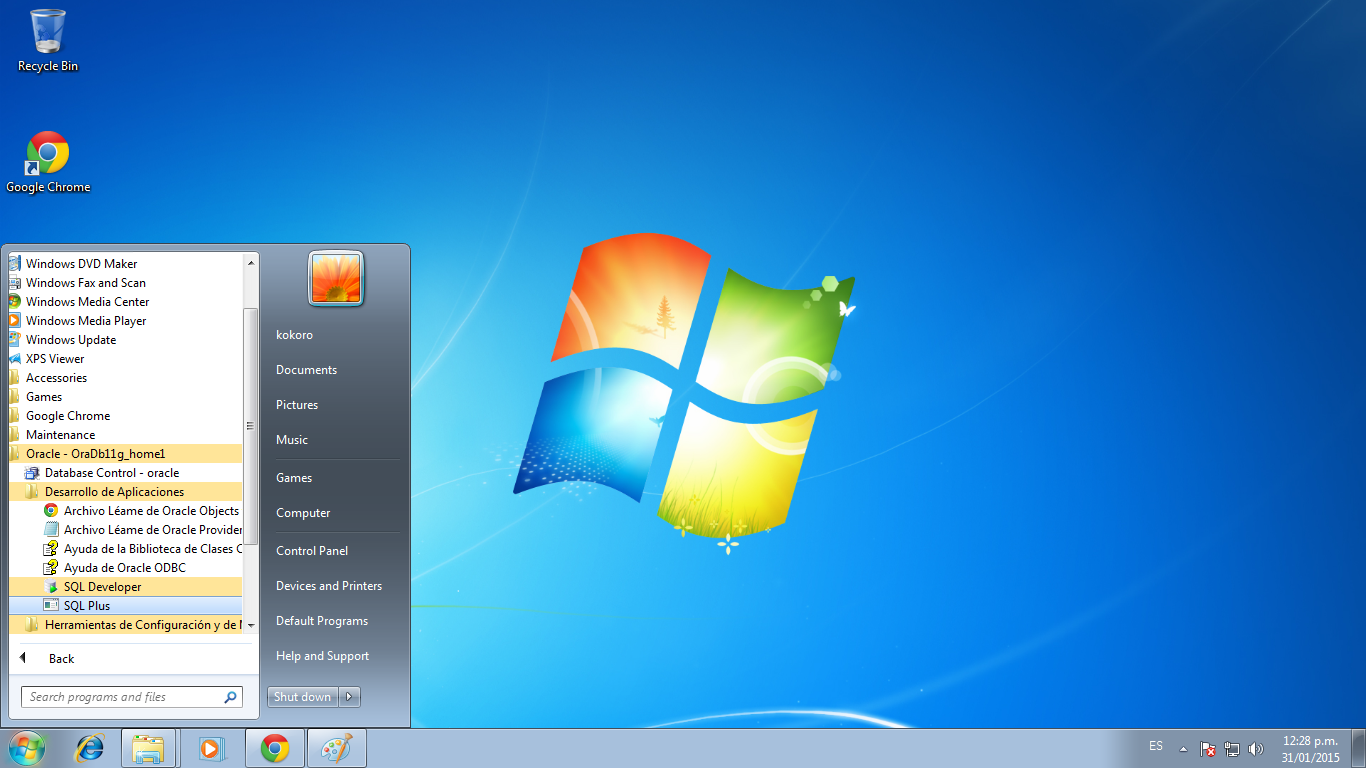
By this point Oracle is installed on your system. The next steps are only to make sure that we can connect to the database using SQLPlus and also we are going to unlock the HR user, the schema on the HR user can be use to practices all your queries and stuff.
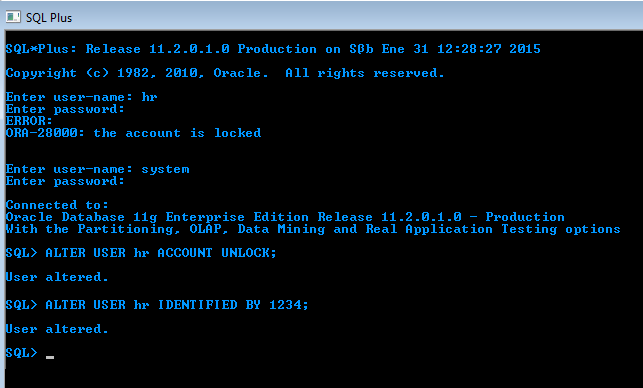
15.- Opening SQLPlus and unlocking the HR account.
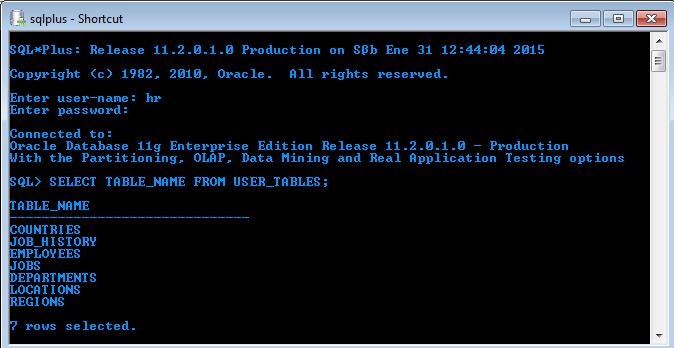
16.-Showing the tables of the user HR.
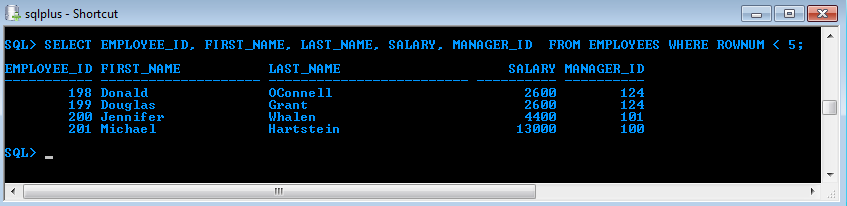
17.-Querying the Employees table.
17.-Final Thoughts.
As you can see the installation of Oracle is not difficult, the hardest thing comes when you want to grant access to other computers on the network to you database, but this is topic of another post.
This is one of the basic installation that you can make, but of course you can always make a custom installation. Just recalling what I said on the beginning, Oracle is excellent to manage thousands of records and give you the performance that you need. If you find this tutorials helpful or you find something wrong please make a comment and will be glad to answer you or fix the problem.